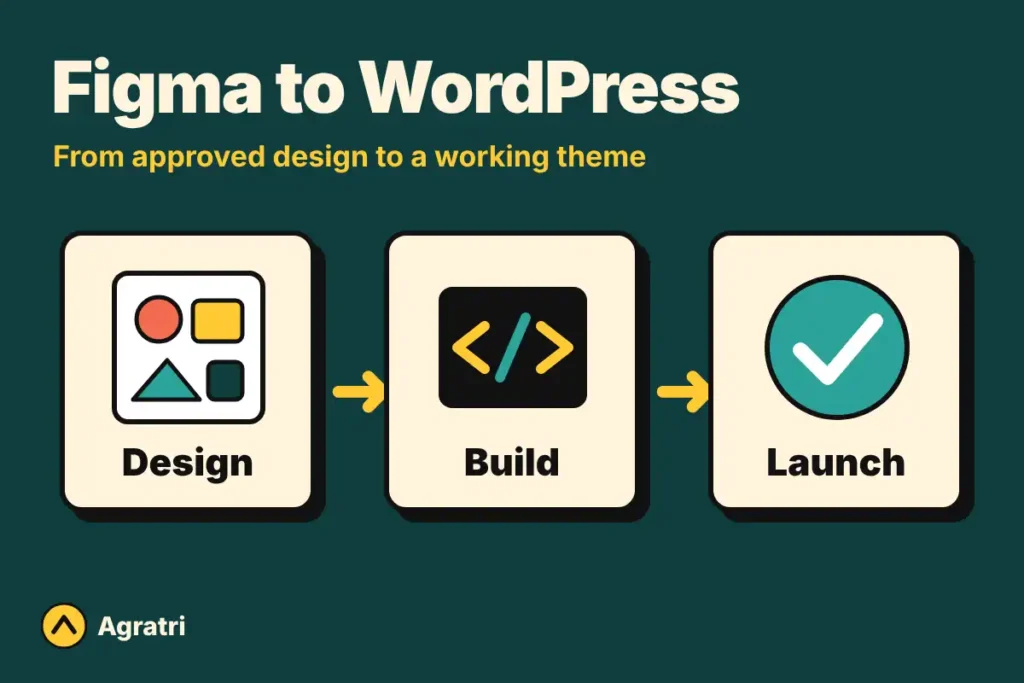
Figma to WordPress is the process of turning an approved design file into a working WordPress theme that you can edit, update and grow. Most buyers choose between three routes: a custom coded theme, a page builder build, or a ready-made theme with custom changes. The right route depends on your design, your budget and how often you will edit pages.
This guide explains each route in plain words. You will also get a six-step plan, a handoff checklist and the questions to ask before you hire anyone.
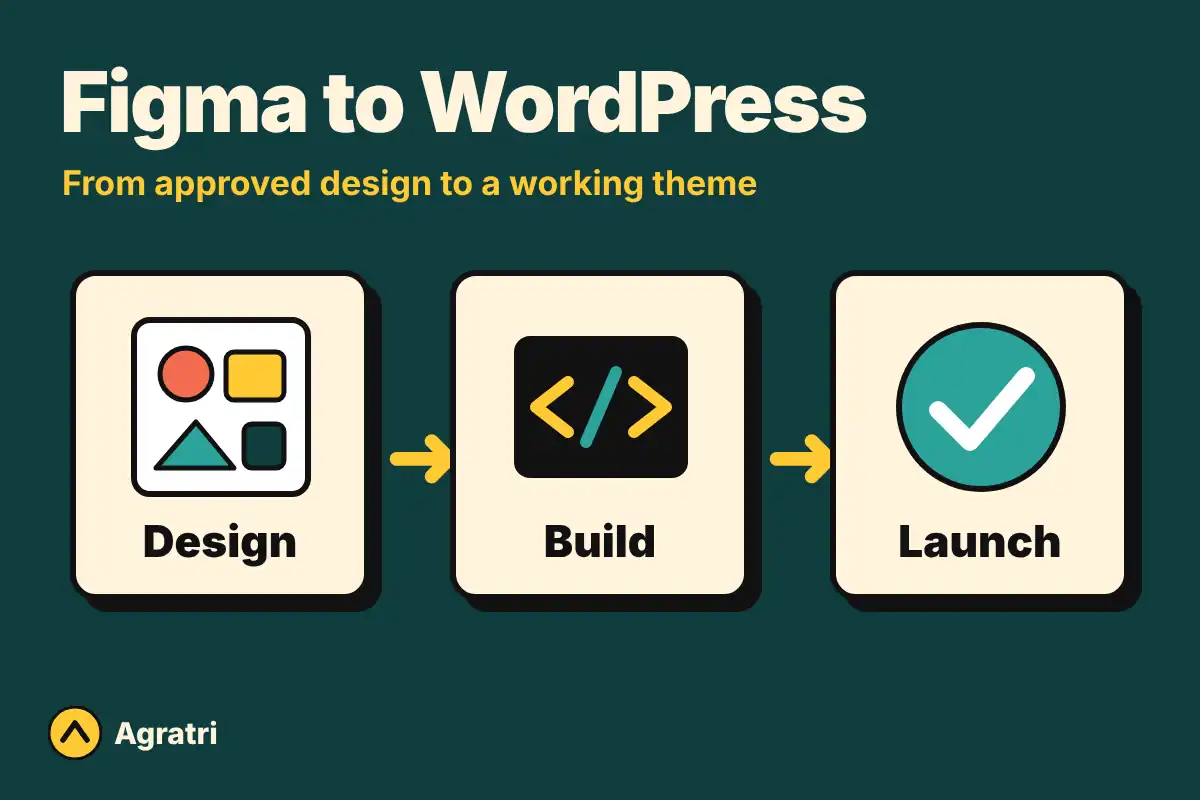
What moving a design into WordPress really involves
A Figma file is a picture of your website. It shows layout, colors, fonts and spacing, but it does nothing on its own. WordPress needs real code that loads pages, shows your content and lets you change text without a developer.
So the job has two halves. First, a developer rebuilds each layout in code so it matches the design on phones, tablets and desktops. Second, they connect that layout to WordPress, so menus, blog posts, forms and images become editable. Both halves matter. A site that looks right but is hard to edit will frustrate you within a month.
Who usually needs this
Different buyers arrive here for different reasons. Freelance designers have a finished design and no time to code it. Small agency owners need a reliable build partner for client projects. Local business owners have paid for a design and now need a working site. Startup founders want a launch-ready site that matches their brand exactly.
Three ways to take Figma to WordPress
Each route trades control, speed and cost. Pick the one that fits your project, not the one that sounds most impressive.
Option 1: A custom coded theme
A developer builds a theme from scratch around your design. The code includes only what your site needs, so pages can stay light and fast. This route gives the closest match to the design and the most control over structure. It also costs more than the other routes, because every part is built by hand. It suits sites with a special layout or unusual features.
Option 2: A page builder build
Here the developer recreates your design inside a page builder such as Elementor. You can then edit sections visually. This route works well when your team plans to change pages often. However, builders add some extra code, so the developer must keep an eye on page speed.
Option 3: A ready-made theme with custom changes
You start with an existing theme and reshape it until it looks like your design. This route is often faster and cheaper, as long as the theme already has a similar structure. If your design is far from any theme, the changes can pile up and the savings disappear. Our article on theme customization vs custom theme helps you decide between the two.
Figma to WordPress in 6 steps
Follow these steps in order. Skipping the early ones is the most common reason a project runs over budget.
Step 1: Finish and freeze the design
Change requests are cheap in Figma and expensive in code. Before any build starts, approve every page, including the mobile layouts. Then agree that new ideas wait until after launch. If you have not written down your goals yet, start with a website design brief so everyone works from the same plan.
Step 2: Prepare the file for handoff
A tidy file saves hours of questions. Name layers clearly and use shared color and text styles. Group repeated parts, such as buttons and cards, into components. Show hover, focus and error states, because developers cannot guess them. Finally, add every font and image your developer will need.
Step 3: Choose the build route
Use the three options above. For example, a portfolio with a unique layout may suit a custom theme. A marketing site that your team edits weekly may suit a page builder. Decide this before you ask for quotes, so each quote covers the same work.
Step 4: Build on a staging site
A staging site is a private copy of your website where changes are safe. The developer builds there, and you review progress through a link. As a result, you see problems early and your live site stays untouched. Ask for reviews at set points, such as after the header and homepage.
Step 5: Test on real devices and browsers
Next, check every page on a phone, a tablet and a laptop. Test the main browsers, forms, menus and links. Also test page speed, because a design that looks great but loads slowly will lose visitors. Make a single list of fixes so nothing gets lost.
Step 6: Launch and hand over
Before launch, confirm that you can edit text, images and menus yourself. Ask for short documentation, so you or the next developer can maintain the site. After launch, check the live pages once more and keep a backup of the final version.
Handoff checklist for your Figma file
Use this list before you send the design to a developer. Each item removes a common source of delay in a Figma to WordPress build.
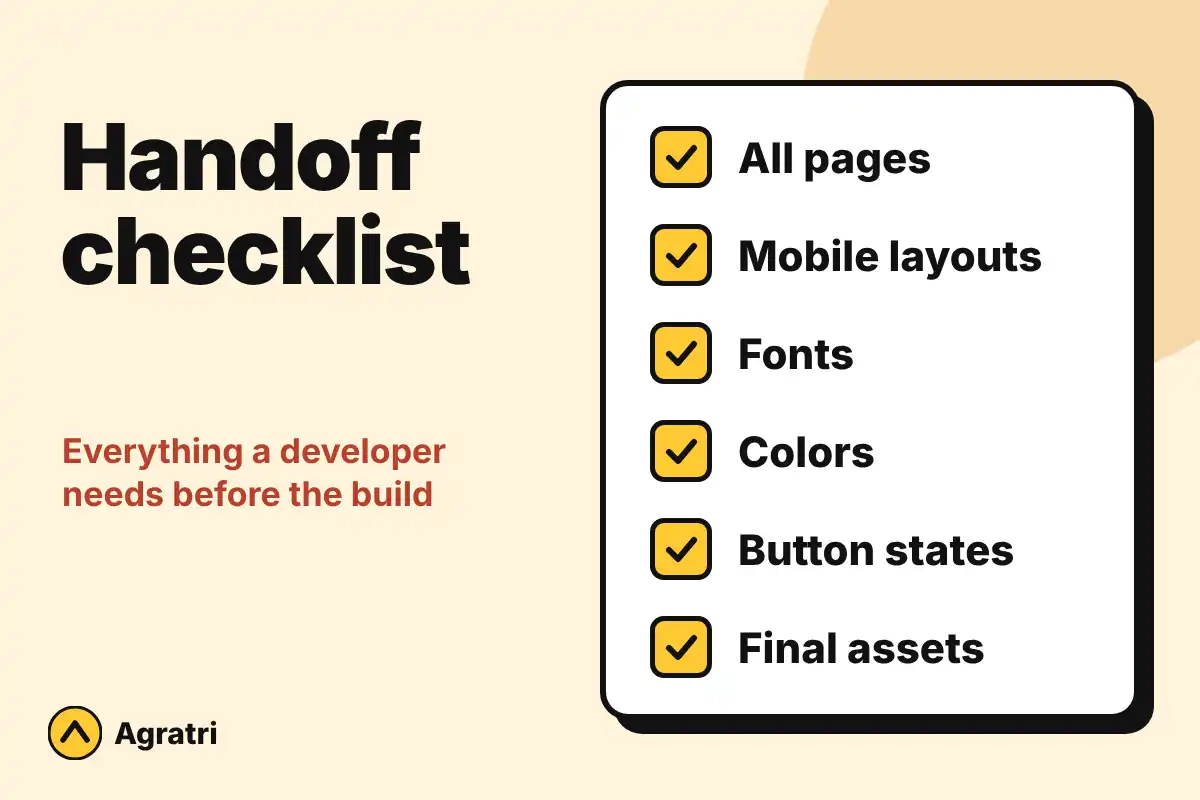
- Every page designed: include the homepage, inner pages, blog layouts and a 404 page.
- Mobile layouts included: a desktop-only file forces the developer to guess.
- Styles defined: colors, headings, body text and buttons use shared styles.
- States shown: hover, focus, active and error states appear for buttons and forms.
- Assets ready: logos, icons, fonts and final images are exported or linked.
- Content written: real headings and text replace placeholder copy.
- Features listed: forms, sliders, search, filters or booking tools are named in the brief.
Common mistakes to avoid
Most Figma to WordPress projects go wrong for the same few reasons. Knowing them helps you avoid paying twice.
- Sending an unfinished design, then changing it during the build.
- Forgetting mobile layouts until the end.
- Choosing a page builder without checking page speed.
- Comparing quotes that cover different work.
- Ignoring accessibility, such as color contrast and clear focus states. The W3C introduction to web accessibility is a good place to start.
Questions to ask before you hire a developer
Ask to see past work that matches your type of site. Then ask how they handle mobile layouts, page speed and editing. Also ask what happens after launch, for example who fixes a bug that appears in week two. A clear answer to each question is a good sign.
Developers who follow the WordPress Theme Handbook build themes that stay compatible with core updates. It is fair to ask whether the developer follows it.
How Agratri can help
If your design is ready, our WordPress theme development service builds it as a custom theme. You can send Figma files, and we build to match them closely. We can build a classic coded theme or one that works with Elementor or the block editor. We share a staging link during the build, so you can review progress.
If you do not have a design yet, our UI/UX design service delivers wireframes, full page designs and a design system in Figma. We can then take the approved design straight into a build. Ready to talk through your project? Contact us with your design link and a short brief.
Frequently asked questions
Can I convert Figma to WordPress without coding?
Yes, in some cases. Page builders let you recreate a design with visual tools. However, matching spacing, mobile layouts and speed still takes skill, so many buyers hire a developer.
How long does the conversion take?
It depends on the number of pages, the amount of custom features and how many review rounds you need. A short, clean design builds faster than a long one with many special parts. Ask your developer for a timeline in writing before work begins.
Do I need Elementor to use a Figma design?
No. Elementor is one option, but a custom coded theme or the block editor can also bring a design to life. Choose Elementor only if you want to edit pages visually.
Will the finished site match the design exactly?
It should match closely. Small differences can appear because browsers and screen sizes vary. Clear handoff files and mobile layouts keep those differences small.
Is a custom theme better than a ready-made theme?
Not always. A custom theme gives more control, while a ready-made theme with changes can be faster and cheaper. Compare both before you decide.